So you’ve got high blood pressure? And you’re looking for a natural cure to treat your hypertension and lower your blood pressure naturally without drugs. Discover how Chinese Reflexology and Traditional Chinese Medicine can help bring your body back into balance.
If you’re a regular reader of my blog, you know that I don’t deal with cures here. That’s because diseases are simply labels to describe a particular set of symptoms in your body and most “cures” focus on eliminating the symptoms, but they very rarely address the root cause of the disease. According to The Merck Manual, the world’s most widely used medical reference book, primary hypertension (high blood pressure with no known cause) is the most common type of high blood pressure and it “has no cure.”
However, there’s ALWAYS a root cause for high blood pressure. It doesn’t just come about randomly. Your body is trying to communicate something very important to you. When you see an elevated blood pressure reading, your body has a message that it’s been trying to tell you for a very long time.
It’s probably been telling you this for years, only you’ve chosen not to listen. So what is your body telling you? Because once you start to listen and follow through on what your body is asking for, you will see improvement in your health and well-being.
When you take drugs to control your blood pressure, you stop hearing the warning sign from your body. Sure, your blood pressure might be in the range of normal again, but you haven’t dealt with the underlying concern that caused it to spike in the first place. You need to resolve that in order for your blood pressure to naturally return to normal levels.
Taking drugs is akin to sticking in earplugs when your house is burning down so that you don’t hear the smoke detector going off.
Obviously, if you’re on medication to lower your blood pressure, don’t stop taking the medication or start reducing it without consulting your medical practitioner. Work with your doctor, but understand that while the drugs help keep your blood pressure within a normal range and subsequently reduce the risk of damage to organs in your body, the drugs are not a cure.
If you want to be well naturally, you have to address the root cause and listen to the messages from your body. This amazing physical marvel that is your body has an innate wisdom and ability to heal itself. Your body knows what to do when you cut yourself or catch a cold. The same holds true with hypertension. It might take more time and effort on your part, but it is possible to lower your blood pressure naturally.
We’ve all heard stories of people making radical changes to their lives, losing weight, exercising, cleaning up their diet and seeing a reduction in their blood pressure and/or blood sugar levels. Your body can do it too. You just have to stop doing whatever it is that’s raising your blood pressure and give your body the support it needs so that it can return to balance.
What Is High Blood Pressure?
Let’s start with a quick overview of what high blood pressure a.k.a. hypertension is. According to The Merck Manual, high blood pressure is defined as:
“sustained elevation of resting systolic blood pressure (greater than or equal to 140 mmHg), diastolic blood pressure (greater than or equal to 90 mmHG), or both. Hypertension with no known cause (primary) is most common; hypertension with an identified cause is usually due to a kidney disorder. Usually, no symptoms develop unless hypertension is severe or long-standing.”
The Merck Manual also mentions that lifestyle can help control blood pressure, including things like:
- 30 minutes a day of regular aerobic activity
- Losing weight
- Quitting smoking
- Eating more fruits and vegetables
- Reducing your consumption of fats
Why You Should Read This Article Even if You Don’t Have High Blood Pressure
For this article, I’ll focus primarily on primary hypertension since it’s the most common type. However, I will write a bit more about secondary hypertension (which is a result of another condition, usually a kidney issue) when I write about the Chinese Reflexology Kidney point. If you do have secondary hypertension, this doesn’t mean you should skip over everything else in this article. Most of this information can be of tremendous benefit for your health and well-being—even if you don’t have high blood pressure!
The only reason I say “can be” of benefit is not because it’s not relevant to most people, but because it is only beneficial if you choose to apply what you’ve learned.
A lot of people seek improvement in their health and well-being and devour dozens of self-help books, do tons of online research and ask numerous people for advice. Then they don’t do anything with the advice.
I know because I used to be one of those people. Many years ago, I was seeing a naturopath during my “Year of Illness.” He made several recommendations which in hindsight were very valid suggestions and would have made a significant difference in helping me turn my health around sooner. Each time I saw him, I kept asking for advice. The problem was that I wasn’t following any of it!
Sometimes it can seem daunting to make radical changes in your life when you’re so used to doing things a particular way. However, if you don’t make any changes, then you will continue on the same course you’ve always being on.
If you make just one little change, you open yourself up to a different path. If you alter your course by one degree, it doesn’t make much difference when you walk a few feet, but if you think of the difference one degree makes to a boat or plane’s destination, you realize what a big impact it can have. What if the Apollo 11 was off by one degree in its trip to the moon?
That’s all it takes, one measly little tiny degree to dramatically alter your health and your life. You start off by making a few small changes. This leads to making a few more small changes, and then even more small changes, until one day you look back and realize that you made one great big change.
Almost every monumental change happens this way. There’s always something going on below the surface and change occurs at an incremental level over time. It happens inside of you before you see the “overnight” change or experience your aha moment. So if you think you can’t do it, then your first step is to think maybe you can. That’s your incremental change.
Everything Starts with Energy
At the heart of Chinese Reflexology and Traditional Chinese Medicine is the concept of Qi. This is life force energy. It’s the energy of creation and it flows through your body just like blood circulates through your arteries and veins.
The human body has 12 primary channels or pathways for Qi to flow. The pathways are like a circulatory system for energy. When your Qi is flowing as it should, your body is in a state of balance. You feel energized, alive and healthy. However, when your Qi is disrupted, this disharmony eventually shows up as physical symptoms in your body if the Qi imbalance continues for an extended period of time.
It’s easy to understand this when you compare the flow of Qi to a river. If the river is flowing smoothly, then the ecosystem is in balance. However, if the river is obstructed, sediment begins to accumulate and eventually plugs up the river, leading to problems both upstream and downstream.
Stress can constrict the flow of Qi in your body leading to obstructed energy in some areas of your body and not enough flowing to others. To return to balance, you need to ensure that your Qi is flowing smoothly and abundantly throughout your body.
Energy Disharmonies Related to High Blood Pressure
It’s interesting to note that you can actually feel hypertension when taking someone’s pulse. Feeling the pulse is one of the major diagnostic tools in Traditional Chinese Medicine. At first, all pulses feel the same, but over time with lots of practice, you begin to notice the subtle differences in people’s pulses. Some are slow, deep and weak. Others feel rapid, close to the surface and pulsate strongly.
For high blood pressure, the pulse often feels very tense like a rope would feel when you’re pulling a heavy load. When the rope is sitting in a pile, it’s very loose and relaxed. When you pull on it like in a tug of war, the rope feels very taut. There are also other types of pulses associated with high blood pressure and these different pulses give clues about the different energy disharmonies going on in a person’s energy meridians.
For high blood pressure, the two energy meridians that are most commonly involved with hypertension are:
- Kidney meridian
- Liver meridian
Acupuncture treatments for high blood pressure almost always involve points that treat disharmonies in the Kidney and Liver meridians. Additional acupuncture points are selected based on the other energy disharmonies present in one’s body. People are diagnosed according to “zang fu” patterns. These patterns describe excesses or deficiencies in the organs and energy meridians of the body.
Some of the most common patterns associated with high blood pressure include:
- Liver fire
- Liver fire with a deficiency of Kidney Yin
- A deficiency in both Yin and Yang
- Damp obstruction
Explaining each of these patterns can get pretty complicated. It’s way too much information for this article, but it would definitely be interesting fodder for an online workshop! If you’re curious to learn more, you can always Google these terms as there are many online resources discussing Traditional Chinese Medicine.
I do caution against self-diagnosis. Zang fu pattern diagnosis is usually more complicated than simply matching your symptoms to a description of the zang fu pattern. In real life, people don’t follow textbook descriptions.
Sure, there are a few people who are textbook cases, but most people display a broad range of symptoms and it’s the interaction of the symptoms that can make them appear completely opposite of what you would expect.
That’s why Chinese Reflexology is so awesome and effective because you don’t have to figure out what the underlying zang fu patterns are. When you know all of the points in this system of Chinese Reflexology—over 50 in total—and you practice them regularly and consistently, your body knows what to do to bring your Qi into balance.
Reflexology and Acupressure Points for Hypertension
There are three points that are beneficial to massage. They’re a great starting point (bad pun intended) for health and wellness. These points help boost your Qi, get it flowing and also help nourish underlying deficiencies that can cause high blood pressure.
1. Chinese Reflexology Point for the Kidney
WARNING: Do not massage the Kidney point if you are pregnant because it is located near the acupuncture point, Kideny-1, which is used for inducing labour.
The Kidney point is one of the most important points to massage for hypertension. That’s because it helps to boost your Kidney Qi, harmonize the Kidney meridian, and tonify (yup, that’s a word in Traditional Chinese Medicine lingo) Kidney deficiencies that may be at the root of elevated blood pressure.
As well, those suffering from secondary hypertension related to the kidneys will also benefit from this point. Harmonizing the Kidney meridian helps to support kidney function. If you ‘d like to read more about this point and how it helped my grandmother when she had kidney failure, sign up for my newsletter and you’ll receive a series of complimentary online lessons. The Kidney point is lesson 3.
How to Locate and Massage the Kidney Reflexology Point
Your Kidney reflexology point is located on the soles of both feet. To find this point, imagine a horizontal line dividing your foot in half from the tip of your big toe (line 1 in diagram) to the base of your heel (line 4 in diagram).
Your Kidney point is located above this horizontal line (line 3 in diagram) and below the line at the bottom of the ball of your foot (line 2 in diagram).
Next, imagine a vertical line dividing your foot in half. It intersects with the horizontal line (line 3) to form four quadrants. Two thirds of the Kidney point is located in the top inside quadrant and the other third is located in the top outside quadrant.
To massage this point, press it with your thumb and rub up and down for about 15 to 30 seconds. Alternately, you can use your knuckles to rub it in an up and down motion. Repeat for the other foot. Practice this daily.
If you feel any skin irritation caused by the friction of rubbing, stop massaging the point until the skin heals. You can use a lubricant like almond oil or Vaseline to reduce the friction.
If you’d like to learn more about the Kidney point, including more detailed instructions on how to accurately locate this point, you can click here to sign up for your free lessons.
2. Tai Chong (Liver-3)
WARNING: Do not massage the Tai Chong (Liver-3) point if you are pregnant. This point powerfully moves Qi and is contraindicated (not to be used) when pregnant as it can induce labour.
Tai Chong, also known as Liver-3 (LV-3) is located on the Liver meridian of your body. In Chinese Medicine, the Liver plays a key role in ensuring the smooth flow of Qi throughout the body. The emotions of anger and frustration are associated with the Liver and they negatively impact the Liver’s ability to smooth the flow of Qi in your body.
How to Locate and Massage Liver-3
This point is located on the top of the foot in the webbing between the big toe and the second toe. Use your thumb to feel for the bones of the two toes into you can feel where they intersect. Then slide your thumb about a thumb-width above this intersection and press into the webbing between the bones. Press and hold for about one minute on each foot.
This point is especially beneficial for smoothing the flow of Liver Qi in your body as well as nourishing blood and yin deficiencies in the Liver.
You may be wondering why I’m not teaching the Liver reflexology point here. I only teach this point in workshops and classes because one of your liver’s primary functions is to filter the blood and break down toxins in the body.
What this means is that over time, especially if you’re not 100% healthy, toxins can build up in the Liver. If you massage this point without guidance, you can release more toxins than your system can handle and you could overwhelm your body, resulting in detox symptoms such as irritability, rash or fatigue. They’ll eventually clear away, but why make yourself miserable when there’s a better way to approach this?
Part of the healing process to bring balance to your body is to heal with a balanced approach :).
3. Shen Men (Heart-7)
The English translation of Shen Men is “Spirit Gate.” Because stress and tension are major factors in raising your blood pressure, it’s important to calm down to give your body room to heal.
Constant stress increases tension in your arteries and veins. It disrupts the natural flow of Qi in your body. This shows up differently in different people, but if you have high blood pressure, this is the way it’s showing up in your body.
Your body is telling you that need to de-stress. And if you have kidney-related secondary hypertension, your body is telling you to look at the factors that affect balance in your Kidneys and Kidney meridian. You can learn about this in greater detail in the article, 3 Chinese Reflexology Points to Get Instant Feedback on Your Health and Wellbeing
The long and the short of it is that you’ve probably got a long history of working too much and pushing yourself too hard. You may also have a longstanding habit of putting others ahead of yourself.
How to Locate and Massage Heart-7
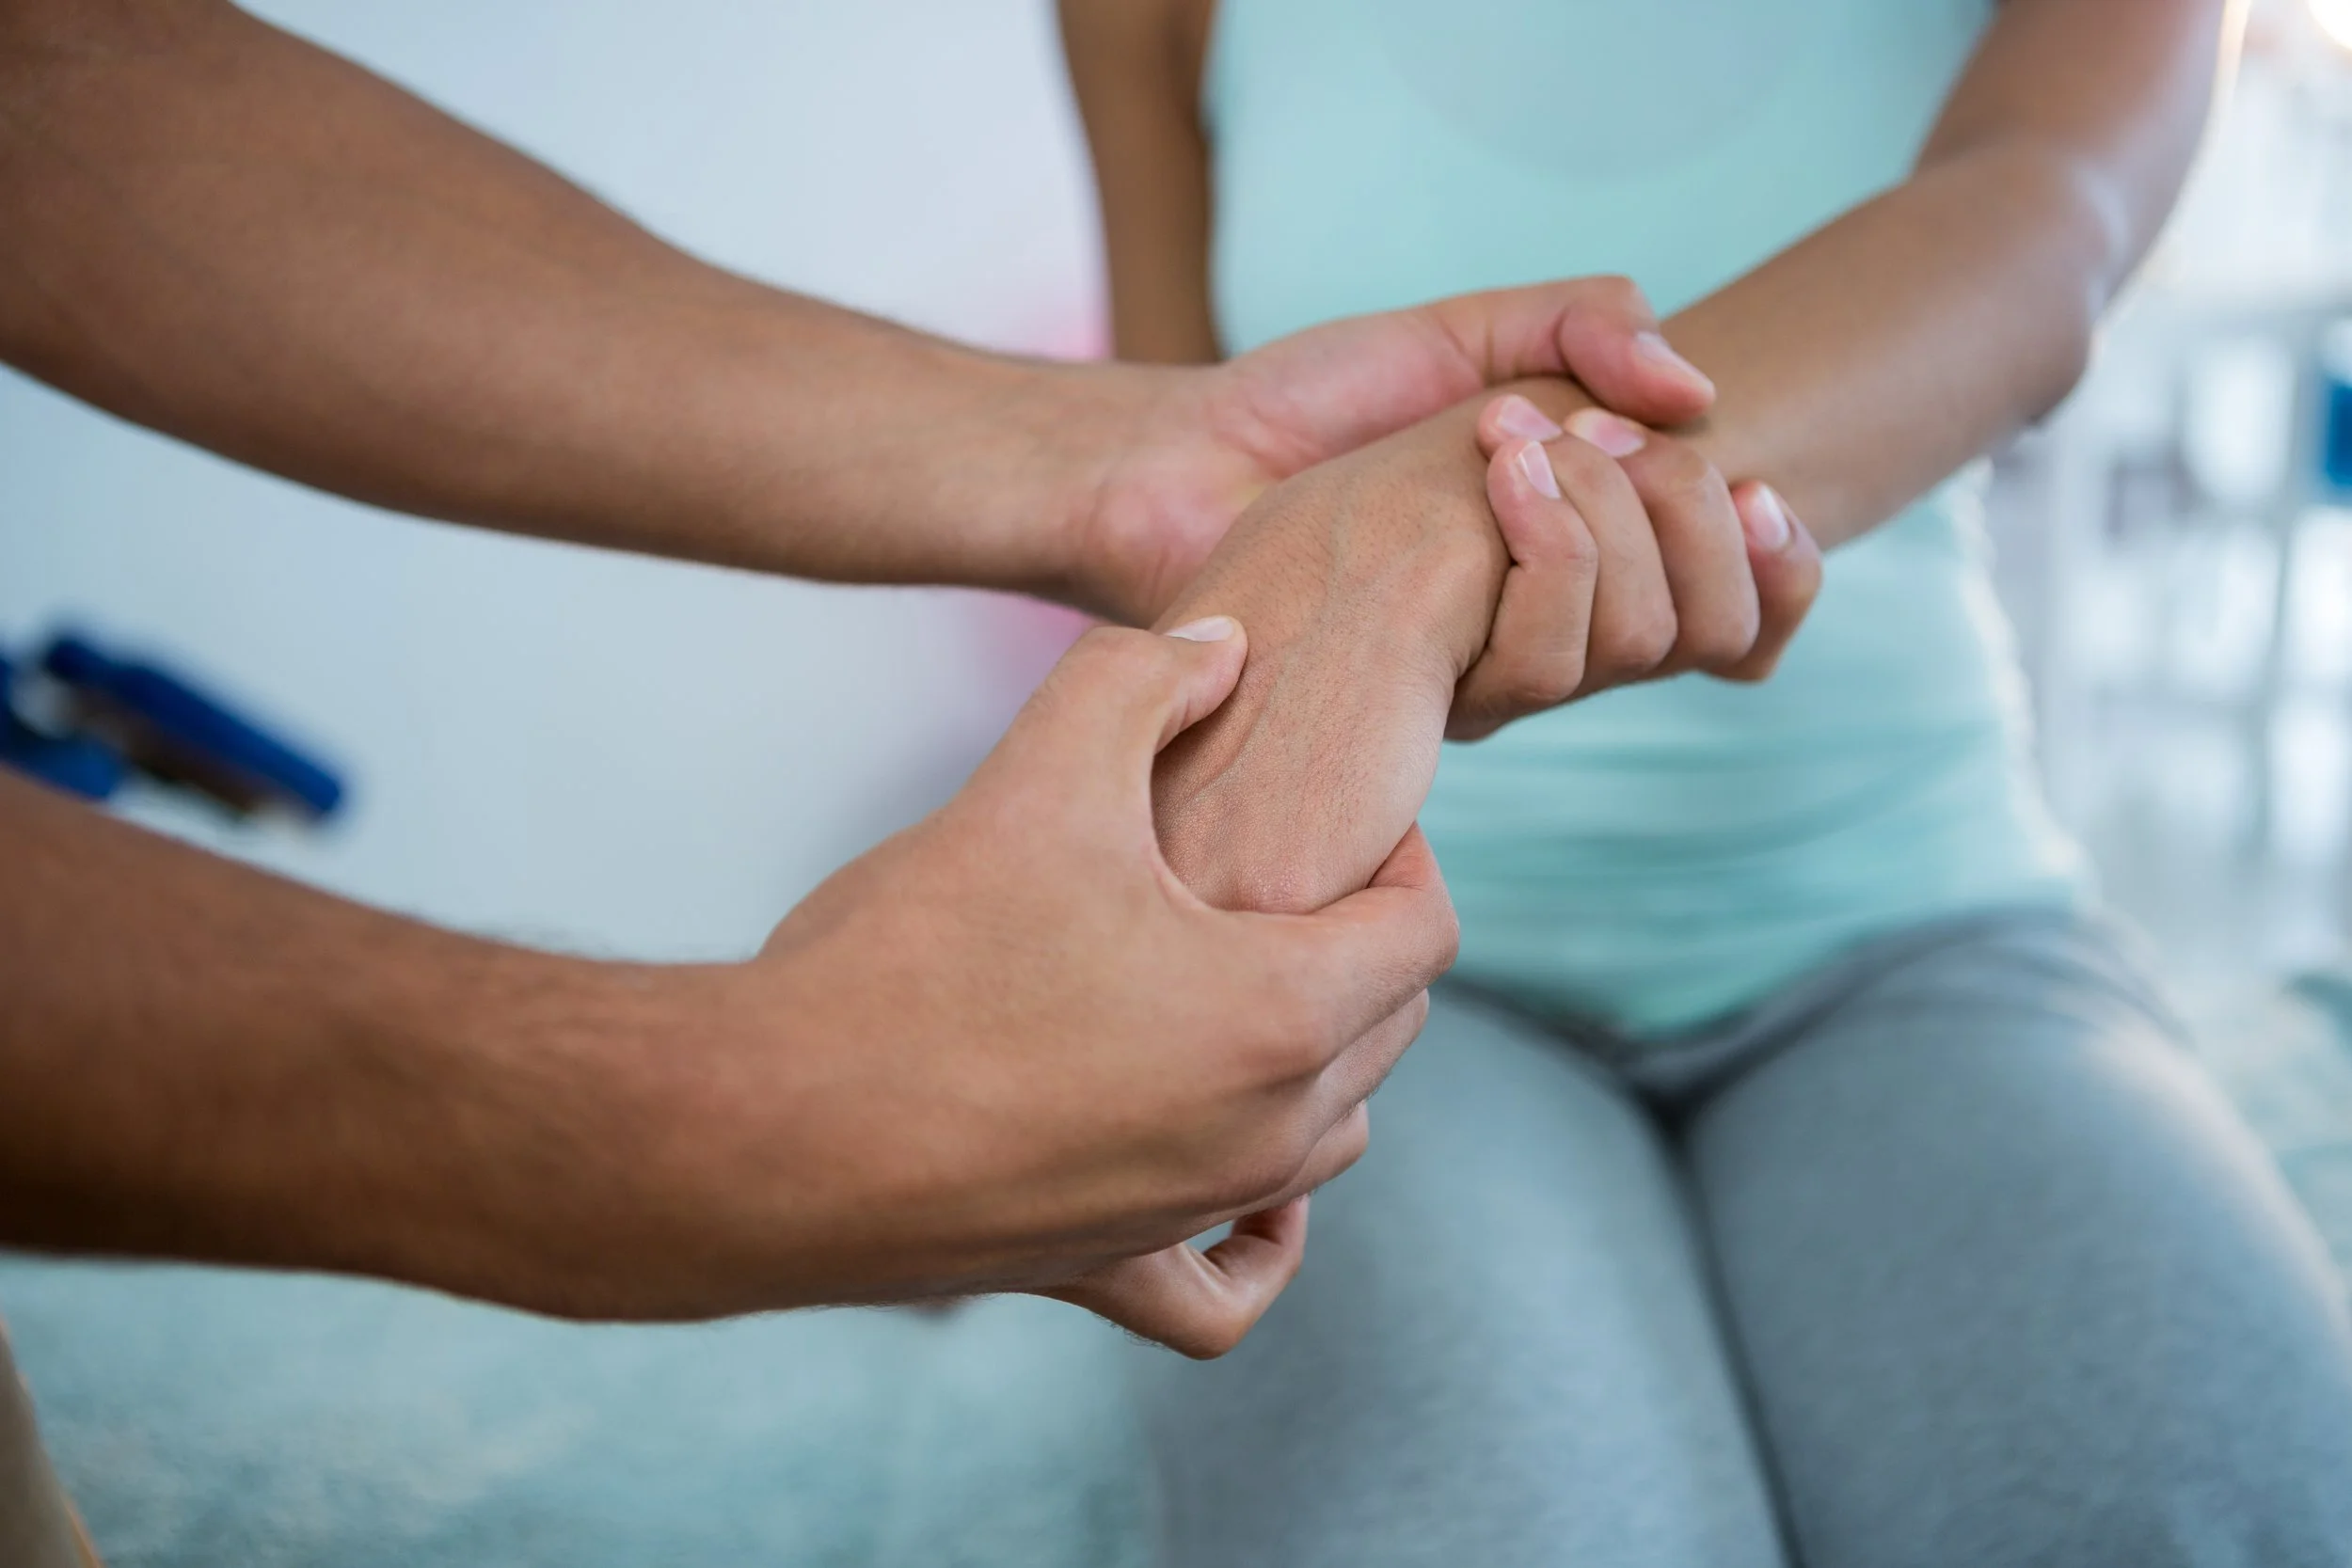
To locate the Heart-7 point, look at your wrist with the palm facing upwards. Right at the base of your palm where your hand meets your wrist is a crease in the skin. While there are quite a few lines in this area, one will appear more prominent than the others.
Next, notice where the base of your pinky finger and your ring finger meet. Imagine a vertical line from this point reaching downwards towards your wrist crease. Press on the wrist crease where this imaginary line intersects with it.
Feel for a slight indentation between your bone and the tendon in your wrist. When your thumb presses into this depression, you’ve located your “Spirit Gate.” Press and hold this point for about 60 seconds on each wrist. Whenever you’re feeling upset or stressed, you can press on this point to help calm yourself down.
Additional Chinese Reflexology Points for High Blood Pressure
The truth is that there are no magical five reflexology points that you can massage to immediately reduce your high blood pressure. Even with acupuncture, you need multiple treatments over weeks or months in order to impact your blood pressure readings.
For high blood pressure, consistently massaging all of the Chinese Reflexology points on your feet would result in the greatest benefit because everything is interconnected. If you think about it, when Western Medicine can’t pinpoint the cause for a disease or ailment, it’s probably because more than one element is involved. For example, you can’t just look at your nose to heal yourself of allergies.
When you regularly massage all of your reflexology points, and ideally with a reflexology stick, your body gradually returns to balance because you address the underlying Qi disharmonies in your body. Chinese Reflexology is about healing your whole body rather than fixating on some numbers appearing in a blood pressure reading.
To understand which points are best for your health, I recommend reading my article on How to Figure Out Which Are the Best Chinese Reflexology Points for You to Massage.
I know, I know, you want all the info now, but grasshopper, first you must learn how to walk before you run :).
Three Key Takeaways
Start practicing the points in this article and when they become a regular habit and feel like second nature, then you can start running. Once or twice a year, I teach an online in depth mastery program on Traditional Chinese Reflexology and if you’re eager to learn more, this is where you can start running :). When I offer the program, I’ll announce the details in my newsletter.
So here are the three key takeaways for you to run with from this article:
- Start massaging your Kidney point daily, especially if it is sore when you press on it. You can also practice the other two points in this article, but the Kidney point is what I consider to be the most important point in Chinese Reflexology.
- Acknowledge that your high blood pressure is a message from your body. There is a great deal of stress in your present life or from the past that you haven’t yet resolved. You’ve carried it with you for so long that it is literally in your blood now or your blood vessels, so to speak. Take some time for introspection. Chances are you can think of what this is off the top of your head. It’s time to deal with it because your body is saying that you can’t sweep it under the rug any longer.
- Sign up for my newsletter if you would like to continue learning more about Chinese Reflexology and the Mind Body connection to heal yourself and transform your life. You can sign up using the form below and you’ll also receive complimentary Chinese Reflexology foot charts and a series of free online lessons.
Article originally appeared on http://www.chinesefootreflexology.com/hypertension/


![Self-regulation “control [of oneself] by oneself"](https://images.squarespace-cdn.com/content/v1/55563e14e4b01769086817cb/1542845645966-PO2HGKF5JLUBM45UIWQ3/wee-lee-790761-unsplash.jpg)


