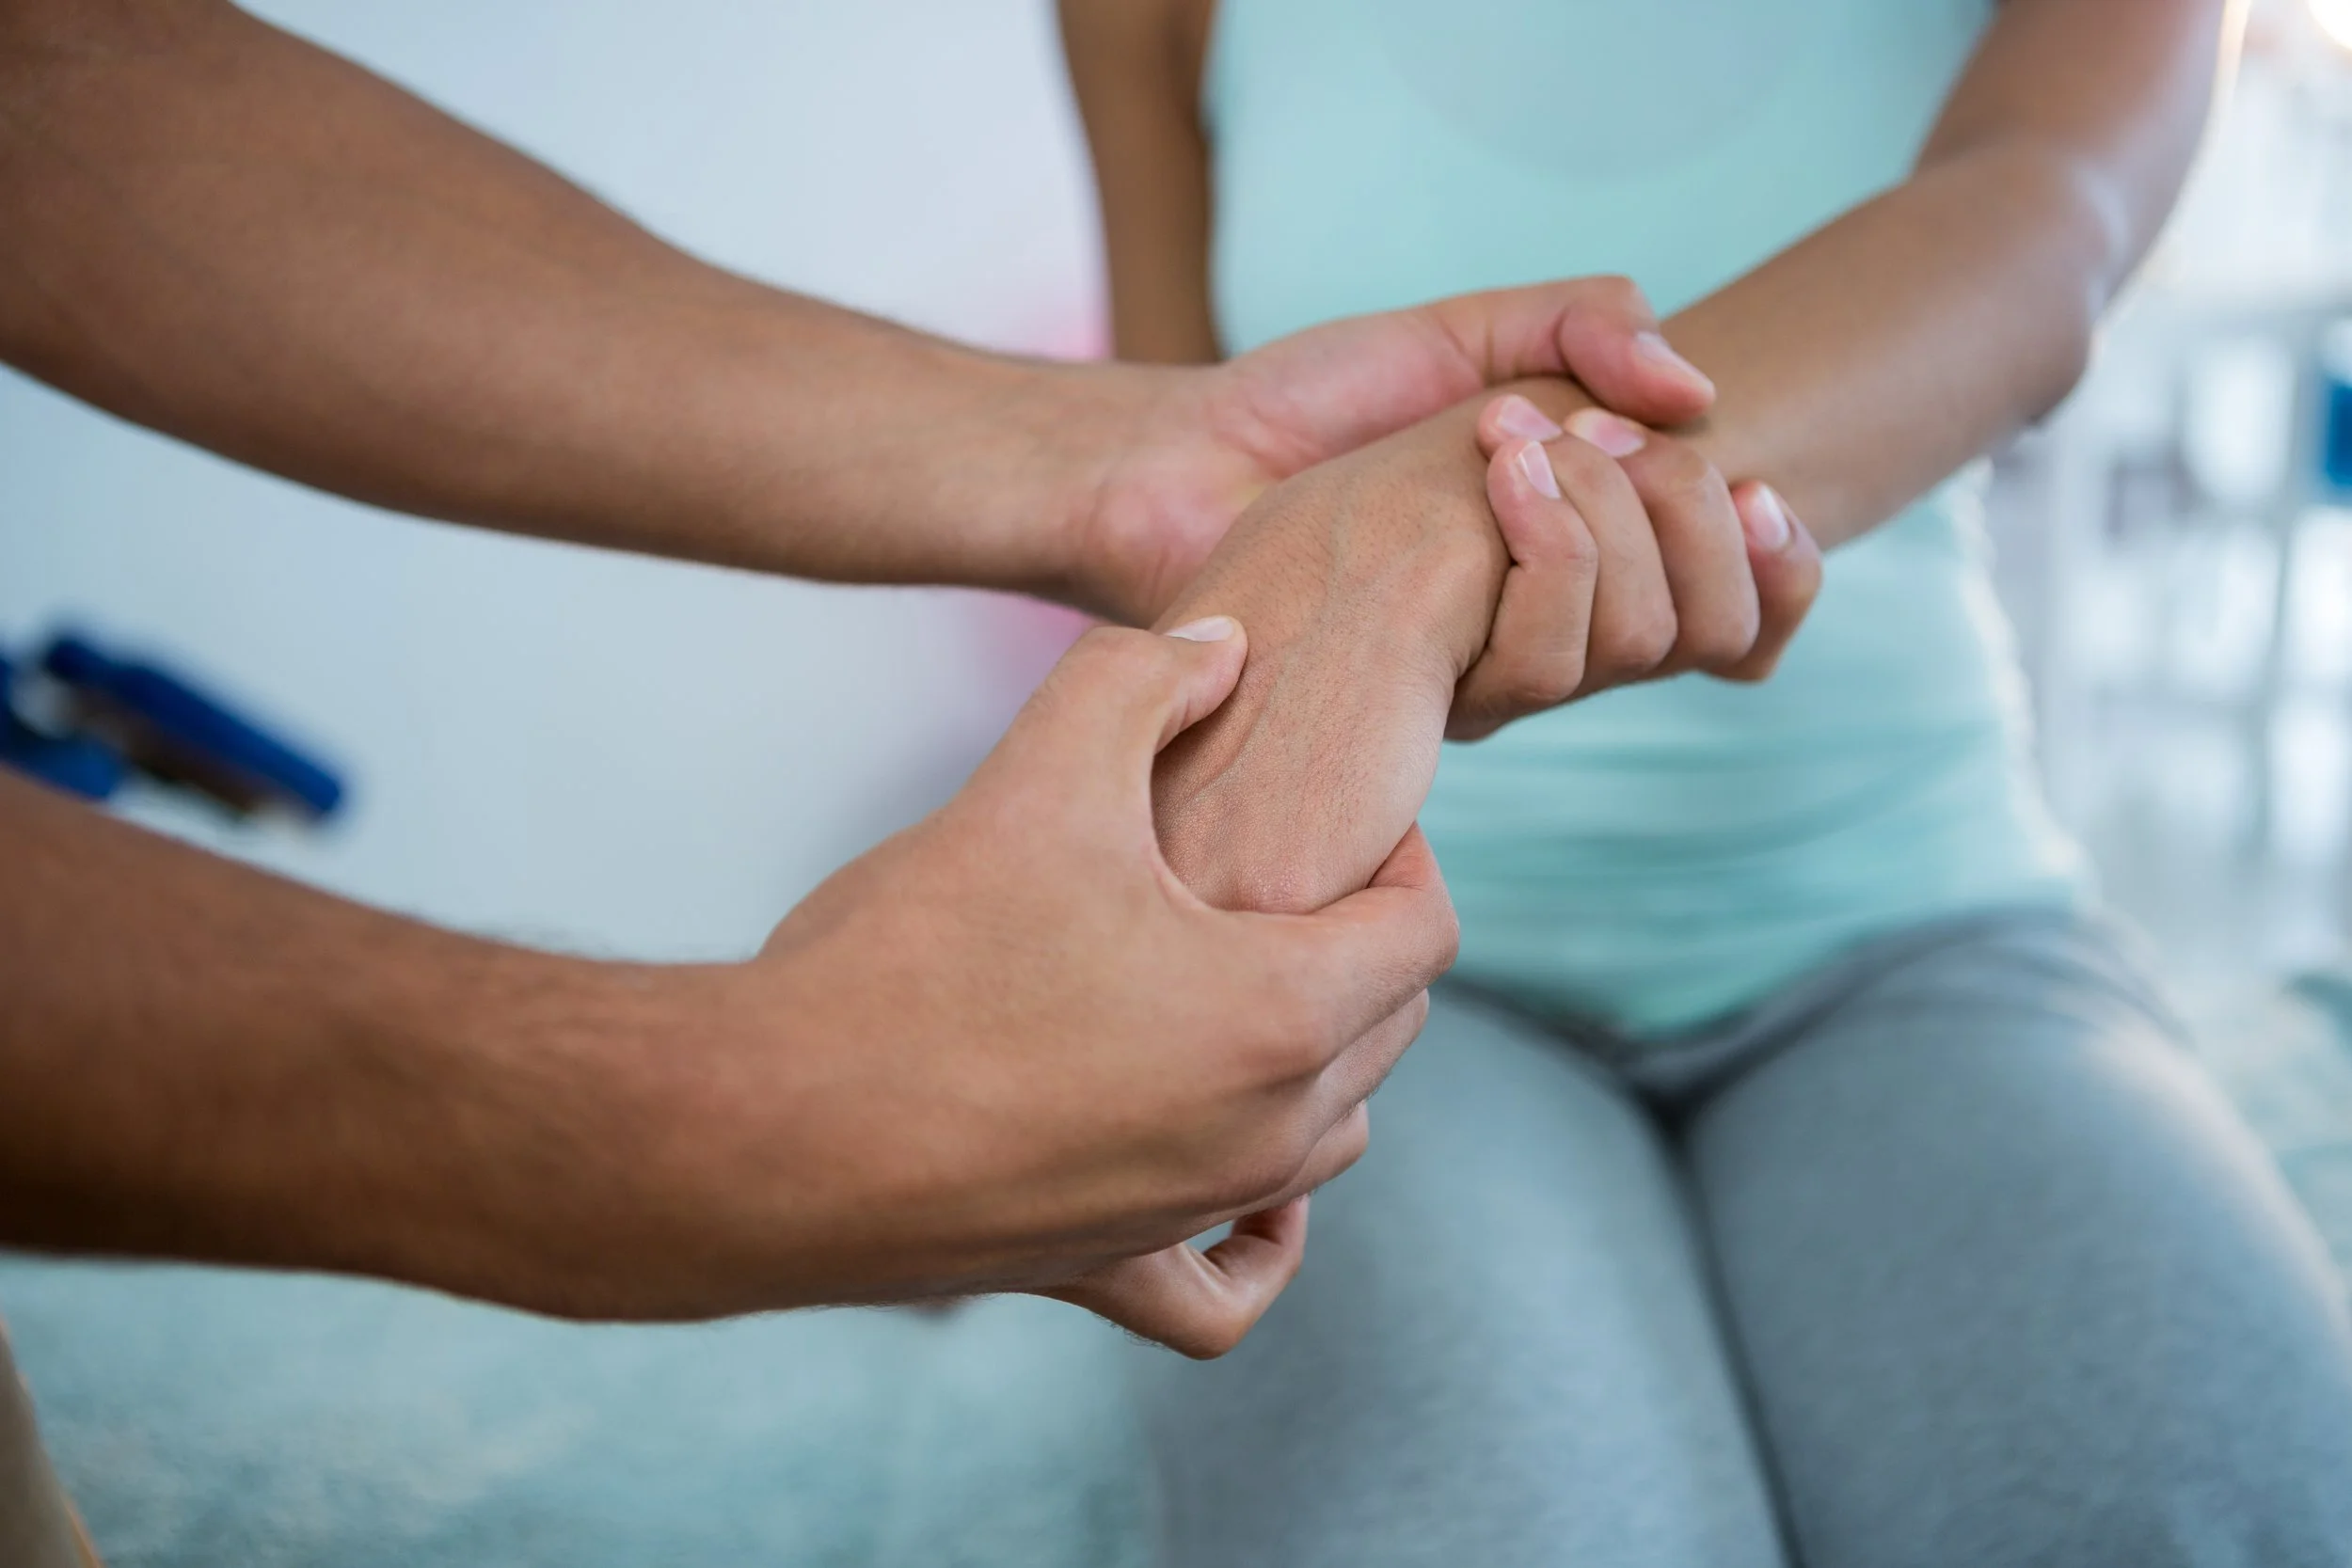
Basic Self-Massage Tips for Myofascial Trigger Points

Learn how to massage your own trigger points (muscle knots)

Massaging yourself might seem as useless as trying to tickle yourself. But if there is a good reason for rubbing your own muscles, it’s probably muscle “knots” or trigger points: small patches of clenched muscle fibres that are sensitive and cause aching and stiffness. They may be a major factor in many common pain problems like low back pain and neck pain. Most minor trigger points are probably self-treatable.

You can often get more relief from this kind of discomfort with self-massage than you can get from a massage therapist. Professional help can be nice — and sometimes essential — but it can also be cost-effective to learn to save yourself from trigger points. It is a safe, cheap, and reasonable approach to self-help for many common pain problems.1

It’s also a controversial one: there is plenty of scientific uncertainty about trigger points. It’s undeniable that mammals suffer from sensitive spots in our soft tissues … but their nature remains unclear, and the popular idea that they are a kind of mini-spasm could be wrong.2

This article just introduces the basic principles of treating trigger points with self-massage. If you’d like to dive deeper into the subject, see my huge trigger points & myofascial pain tutorial.

Why are minor trigger points so easy to deal with?

A lot of trigger point pain can be relieved with a surprisingly small amount of simple self-massage with your own thumbs or cheap tools like a tennis ball. Although trigger points can be amazingly nasty, most are fairly easy to find and get rid of with a just little rubbing.

Dr. Janet Travell3 wrote that “almost any intervention” can relieve a trigger point, and self-massage is usually the simplest, cheapest, safest, and most effective. Which sounds to good to be true, so we should probably be suspicious of it. How can such a trivial treatment work?

The pain may be more of a sensory phantom than something wrong with the tissue.4 It may be relatively easy to change with massage because there’s not much to “fix” — just a sensation to change.

A little self-massage is often the most effective treatment for minor muscle knots. But how can such a trivial treatment work?

Or maybe the rubbing actually helps muscle tissue directly in some way, like stirring a sauce until it’s free of lumps. Maybe massage works because it’s literally pushing and flushing waste metabolites out of a trigger point5 — which, in theory, interrupts a vicious cycle and prevents the trigger point from coming back. But, so far, no one has actually been able to demonstrate how a muscle “knot” can be untied by massage.

Isolated trigger points are probably much easier to manage — neurologically simpler.6 If the problem is limited to one body part, there’s a better chance of dealing with it.

Basic self-massage instructions for trigger points

Just a few moments of gentle rubbing can be enough for an easy case.7 For moderate cases, several larger doses — a minute or two — of rubbing over a couple days will usually do the trick. The toughest self-treatable cases might need an investment of about a half dozen 5–minute treatments per day for a week. But none of this is science-based, and treatment can definitely fail.8

Here are a bunch more basic tips …

Rub with what? Rub the trigger point with your fingertips, thumbs, fist, elbow … whatever feels easiest and most comfortable to you. Simple tools are handy for spots that are harder to reach — various balls and other handy objects. Tennis ball massage is surprisingly good stuff! You can use a foam roller, of course, but the contact area is just too wide for many jobs.

A tool like Pressure Positive’s Backnobber can be great. But for quick and easy self-massage, there’s usually something around the house that works pretty well — like a tennis ball!

Rub in what way? For simplicity, either simply press on the trigger point directly and hold for a while (10–100 seconds), or apply small kneading strokes, either circular or back and forth, and don’t worry about the direction of the muscle fibres. Really, anything goes. But, if you happen to know the direction of the muscle fibres — sometimes it’s obvious — then stroke parallel to the fibres as though you are trying to elongate them, because that might be more effective.

Rub how hard? This matters more! Because massage is mostly about having a conversation with your nervous system, you want it to have the right tone: Friendly and helpful! Not shouty and rude. The intensity of the treatment should be Goldilocks just-right: strong enough to satisfy, but easy to live with. On a scale of 10 — where 1 is painless and 10 is intolerable — please aim for the 4–7 range, and err on the side of gentle at first. Beginners are often much too aggressive. (And the pros too!)

What should it feel like? Pressure on a muscle knot should generally be clear and strong and satisfying; it should have a relieving, welcome quality. This is “good pain.” Massage is a conversation with your nervous system. So you want it to have the right tone. Friendly and helpful! Not shouty and rude.If you are wincing or gritting your teeth, you probably need to be more gentle. You need to be able to relax. See the next section for more information about how trigger point massage should feel.

What if it backfires? It probably won’t, especially if the pressure is reasonable. But if you experience any negative reaction in the hours after treatment, just ease up. In basic therapy, you can count on tissue adapting to stronger pressures over the course of a few days of regular treatment. If they don’t, either the problem isn’t really trigger points, or they are (much) worse trigger points than you thought.

Rub where? For basic self-treatment, you can trust your instincts: rub where it hurts! Do explore for sensitive spots, but you can limit your exploration to a fairly small area of muscle tissue around the “epicentre” of your symptoms. So, for instance, if the top of your shoulder aches, search for trigger points mainly in the top of your shoulder. (You will notnecessarily be able to feel a bump or “knot” in your muscle, so don’t worry too much about that.)

What if the trigger point is not where the pain is? Trigger points may generate symptoms that aren’t where the trigger point is. What’s a beginner to do? Don’t worry about it too much — this is basic trigger point treatment. Bear in mind the possibility of confusing referred pain, but don’t worry about it unless basic therapy is failing.

Rub how much? Massage each suspected trigger point for about 30 seconds, give or take depending on how helpful it feels. This is actually enough for many trigger points — especially if you think that you have several that all need attention! Five minutes is roughly the maximum that any trigger point will need at one time, but there is not really any limit — if rubbing the trigger point continues to feel good, feel free to keep going.

Rub how often? As long as you aren’t experiencing any negative reactions, you should massage any trigger point that seems to need it at least twice per day, and as much as a half dozen times per day. More is probably too tedious and involves too great a risk of just pissing it off.

How do you know it’s working? Getting a trigger point to “release”


The goal of self-massage for trigger points is to achieve a “release.” What is trigger point “release” and what does it feel like? How do you measure success? It mostly refers to an easing of sensitivity of the trigger point, and/or a softening of the tissue texture — the melting of the knot.

But release is a vague term with no specific scientific definition. It’s a label for the unknown, for whatever is going on when the trigger point seems to goes away. Maybe it refers to the literal relaxation (or even the violent disruption!) of the tightly clenched muscle fibres. Or maybe it’s “just” a sensory adaptation, which might be a kind of healing (it just stops hurting), or trivial and temporary (like scratching a mosquito bite).

A release may not be obvious. In fact, things could even feel worse before they feel better: tissue might remain “polluted” with waste metabolites even after a successful release. Release might even require some damage to the tissue of the muscle knots — that is one theory. If so, the area would probably still be quite sensitive even if you’ve succeeded.

In my experience — both treating and being treated — it’s a weird mixture of these possibilities: initially there’s a satisfying but profound sense of scratching an itch, but the tissue is actually more sensitive afterwards, not less.

For beginners, don’t worry about the details: just stimulate the trigger point, and trust that you probably achieved a release, or a partial release, and then wait for the trigger point to calm down. If you were successful, you will notice a reduction in symptoms within several hours, often the next morning.

If you were successful, you will notice a reduction in symptoms within several hours, often the next morning.

Good pain? With easy trigger points, successful release is typically associated with “good pain” — that clear, strong, and satisfying sensation that is somehow both painful and relieving. It is positive in the same sense that barfing is positive: it’s not pleasant, and yet your body “knows” that it needs and wants that much pressure. Usually, if you feel “good pain,” a trigger point release is more likely.

On the other hand, if you are wincing or gritting your teeth, you probably need to be more gentle. Comfort is an important component of successful treatment for most people! If you can’t massage the trigger point without wincing, you’re being too brutal on yourself, especially in the early stages. Sometimes a trigger point will feel nasty and hot and burning and still release anyway. But often such a rotten trigger point will need more persistent or advanced treatment. The “pressure question” — how much is too much? — is surprisingly complicated.

This is the tip of the trigger point iceberg

There are many reasons why basic self-massage might fail. The skeptics could be right: maybe there’s really nothing there but an abnormal sensation, nothing in the flesh to fix. Or it could fail for quite technical reasons — due to the neurological phenomenon of “referred pain,” the trigger point may not actually be located in the same place as the pain. This sends people on wild goose chases, rubbing the wrong things, and the only solution is education and experimentation.

this article originally appeared on painscience.com and was written by  Paul Ingraham.

Here's What Just 3 Weeks Of Acupuncture Did For My Digestion, Sleep & Energy Levels

Acupuncture always seemed like a voodoo-type practice to me, so I never considered it an option. However, I recently experienced about two months of consistent bloating to the point that I looked three months pregnant in a swimsuit. I tweaked my diet, cut out coffee, started meditating more, but still the bloating remained. So, I decided to finally give acupuncture a try. What could happen? After all, I have been battling ulcerative colitis for nine years now and have become open to just about anything that will alleviate my symptoms.

I saw an acupuncturist twice a week for one month. He applied traditional acupuncture techniques while incorporating craniosacral work. Here's what happened:

Week 1:

After my first week of treatment, my bloating decreased significantly to where I no longer felt discomfort. Unexpectedly, I also noticed fewer chronic fatigue symptoms. I often get body aches but those were gone and I felt like I had quite a bit more energy.

Week 2:

I told the acupuncturist that I was having a hard time sleeping so he adjusted his needle points accordingly and began performing craniosacral work on my head and neck. Without realizing it, I fell asleep on the table almost immediately and had the most restful sleep I'd had in a while. Even more, I've been able to sleep well and wake up feeling rested ever since this treatment.

In addition, I usually know when my period is about to start by the severe back pain and discomfort in the day and hours leading up to it. The first day of my period is always the worst—and I mean the absolute worst. Painful cramps normally plague me on the first and second day. This time around? I had NONE—I couldn't believe it. The second day showed very slight discomfort but was the easiest period I’ve had in a long time. To me, this meant that the acupuncture was lowering my inflammation levels and helping ease my hormonal changes throughout the month.

Week 3:

I didn’t fall asleep this time, but that is likely because I was already getting great sleep at night and was feeling very alert. I mentioned to the acupuncturist that I was having exams in grad school and that I was stressed about them. Again, he adjusted the location of the needles and let me rest on the table, listening to Bob Marley. Maybe it was the needles, maybe it was Bob—or probably a combination of the two—but I felt like I had just had a massage as I walked out of the office. I also started feeling more alert and energized during the day, without the help of coffee, and was able to focus in classes better than before.

The take-home message? Acupuncture is the bee’s knees! I am officially a skeptic turned believer in just three short weeks. Will the effects keep on lasting? It's hard to say, but so far so good. My health condition is not an easy one to manage, so knowing that this is a viable option for me to help keep my symptoms at bay is absolutely priceless.

This article originally appeared on MindBodyGreen & was written by Holly Campbell.

4 Exercises to Prevent Back Pain From Cycling

Lower back pain is one of the most common injuries among cyclists. What you might not realize is that most of these injuries are due to muscular imbalances that can easily be prevented.

While serious conditions such as a herniated disc or a strained muscle warrant a break from the bike, most low-level chronic back pain that results from muscular imbalances can be fixed before resulting in injury.

A muscular imbalance occurs when the workload is not being distributed evenly or efficiently, and can cause certain muscles to work either too hard or not enough.

More: Exercises to Treat Shoulder and Neck Pain From Cycling

The transversus abdominus, or TVA—the deep abdominal muscles that wrap around the entire core—and the gluteus maximus are two common muscles that can lead to back pain if they aren't working efficiently. The correlation between weakness in these muscles and low back pain is directly related to the order in which these muscles activate.

If they aren't firing correctly, and in the right order, these muscles won't provide the stabilization needed to support the lumbar spine.

In a healthy person, the TVA should activate a fraction of a second before any movement takes place in the limbs. If the TVA doesn't fire, the pelvis and lumbar spine aren't properly stabilized during movement and the low back is allowed to move around too much, stressing the muscles of that area and eventually causing chronic pain.

More: How to Avoid Lower Back Pain While Cycling

The solution is to follow a core exercise routine that helps strengthen the TVA and gluteus maximus. Stay away from abdominal crunches; the crunch movement only exacerbates the rounded shoulders and tucked pelvis that contributes to low back pain.

Below are four core-strengthening exercises that will help to alleviate chronic low back pain. Start with one set of each exercise and rest 30 seconds between. Increase your repetitions gradually until you can complete 2 to 3 sets of each exercise.

Opposite Arm/Leg Reach

Start on your hands and knees. Keep the back of your neck long and don't look up or let your chin drop toward the ground. Gently pull your belly button up, being careful not to round your upper back. Keep your hips and shoulders parallel to the ground and lift your right foot and left hand at the same time...

More: 7 Simple Stretches for Cyclists


...Extend your left fingertips forward and squeeze your left gluteus. Hold this extension for 5 seconds before slowly returning to the starting position. Continue alternating sides until you have completed 10 repetitions on each side.

Prone Snow Angels

Lie face down on a mat with your arms extended along your sides (palms down). Gently squeeze your glutes and begin to raise your feet, chest and hands off the ground. Don't lift your feet more than 6 inches. Create a "snow angel" by sweeping your arms overhead and separating your feet. Without bending your arms, try to bring your hands together above your head. Return to starting position, take a deep breath, and repeat until you have completed 10 to 15 repetitions.

Shoulder Blade Squeeze

Start on your hands and knees. Place your hands directly below your shoulders as if you were going to do a push-up. Keep your arms straight and drop your shoulder blades down, squeezing the lower edges together. Don't let your low back sway or your chin push forward. Hold the shoulder blade squeeze for 5 seconds and release. Take a breath, then continue to repeat this 5-second hold until you have completed 10 repetitions.

More: 8 Single-Leg Exercises to Increase Power

Time Trial Position (Plank Hold)

The TT Hold is performed on your forearms and toes. The exercise is isometric and there should be no movement. Keep your elbows directly beneath your shoulders, and your feet should be 8 to 10 inches apart. Keep the back of your neck long and look down at the floor.

Work to bring your shoulder blades onto your back by squeezing them together slightly. Your lower back should not be excessively rounded, and your neck should be long (don't look up). Hold this position for 20 to 30 seconds. As you become stronger, extend the hold time.


This article originally appeared on Active.com and was written by Allison Westfahl

Floating While Pregnant

Upon gaining a doctor’s approval, there has been a growing trend of floating during pregnancy. Some take on floating to help reduce back pain while others just love to hear their baby’s heartbeat underwater.

The rise in floating while pregnant has sparked a lot of questions. While any medical questions are obviously best left to the doctors, there are some obvious queries that are clearly float related. Like, ‘how to comfortably float while with child,’ for instance.

..The following are a few suggestions. First of all, (rest assured) it is safe for pregnant women to float on their back or their belly. Outside of the tank, this position would be risky for the health of the mom and the baby, however, in the weightlessness of a sensory deprivation tank this doesn’t appear to be the case.*

Be sure to ask and know how to get in and out of the tank cautiously, as the surfaces will be slippery and [your] sense of balance might be a bit wonky.

Getting Into a Comfortable Floating Position

Successfully accomplishing the following positions may depend on factors such as height, body type, and ultimately personal preference:

floating-pregnant_arms-under-noodle-1024x553.png


You may want to have neck pillows for your float. One good option for a neck pillow is a pool noodle cut in half crosswise, so it can fit sideways in your sensory deprivation tank. A pregnant woman can actually lay on her belly while she floats, with her arms across the noodle, and the noodle under her chin to keep her face out of the water. Even if she falls asleep, her head will remain supported by the noodle. 


Another suggestion for floating belly down in the water is to have your elbows on the floor of the tank and chin in hands. The depth of the water is approximately the length of your forearms, so your face will remain dry. Some women find this satisfying as the position provides a great stretch to the spine.


A pregnant floater might also be comfortable crossing her arms under her chin and floating belly down in the water, resting her head on her forearms. This is very similar to floating with a pool noodle, and for some, might be preferable. Floating belly down can be a real release of pressure during pregnancy: a lot of the weight of the growing uterus pushes against the mother’s organs, and letting the salt water support this weight for 60 minutes can be quite blissful.


As far as tips for a pregnant woman floating on their back, know you are safe to float this way (again, pending approval from your doctor). You could use the noodle pillow under your lower back, but probably won’t need it. Chances are that the Epsom salt will support her and baby beautifully.


It is a great time for mother and baby to bond, and for Mom to get a bit of rest and relaxation.


Dads Need Floats Too


Dad floats as well, after all fathers have needs too! It can be quite stressful and exhilarating preparing for a new baby, and floating is always an amazing stress reliever, regardless of whether or not you actually have another life form actually growing inside of you.


Only With Doctor’s Approval


We are not a medical centre, nor have doctors or medical professionals within our clinic. We can offer tips from the personal experiences of previous pregnant floaters. The conditions of every pregnancy can be different and all expecting mothers should seek the approval of their doctor before floating.

Some sources online state that women should not float during their first trimester. There is no data we’ve found to support this concern, but this seems reasonable that it’s in place because many miscarriages happen during the first trimester. If a woman miscarried right after her float, or she attributed a miscarriage to floating, this could be terrible for everyone involved.

Miscarriages happen frequently, somewhere between 5%-75% of pregnancies miscarry within the first trimester depending on the conditions** (the higher percentage in this scale are IVF pregnancies that fail to implant properly and those families can be the most devastated by miscarriages).

Definitely take all of the information presented in this blog post with a grain of salt, and make sure that you consult your medical doctor before booking a float therapy appointment. Floating through pregnancy can be a real load off – in many ways.

For more reading, check out my personal blog about floating while pregnant.

This article originally appeared on floattanksolutions.com and was written by Leah Pellegrini

* The risk is related to a pregnant woman lying down on her back (on a flat surface, not a float tank) is due to constriction of blood flow to the placenta. This can interfere with the development of the baby. Also, the weight of the uterus can put pressure on major veins causing dizziness and discomfort for the mother. In a sensory deprivation tank, this doesn’t seem to happen, because there is no rigid surface behind the mother to cause detrimental pressure on the circulatory system. Furthermore, floating has been shown to have positive benefits such as lowering blood pressure, which can also help a pregnant mother to have healthy blood flow to her heart and to the baby’s placenta.

** statistical numbers gathered from Friedman, Lynn, M.D. and Irene Daria. Miscarriage: A Woman Doctor’s Guide. New York: Kensington Health: 2001

SERVICES TO COMPLIMENT FLOAT THERAPY FOR PREGNANT WOMAN: Massage Therapy and Acupuncture